Chef’s Overview
Dear Chefs, there’s nothing quite like the aroma of fresh pumpkin bread filling the kitchen on a cool fall morning. But after all that effort, the last thing you want is to ruin your beautiful loaf with a dull knife or a heavy hand. Today, we’re diving into one of the most underrated kitchen skills—how to use a bread knife the right way. Because when you’ve baked something this good, it deserves a slice that’s clean, even, and worthy of your craft.

Why the Right Bread Knife Matters
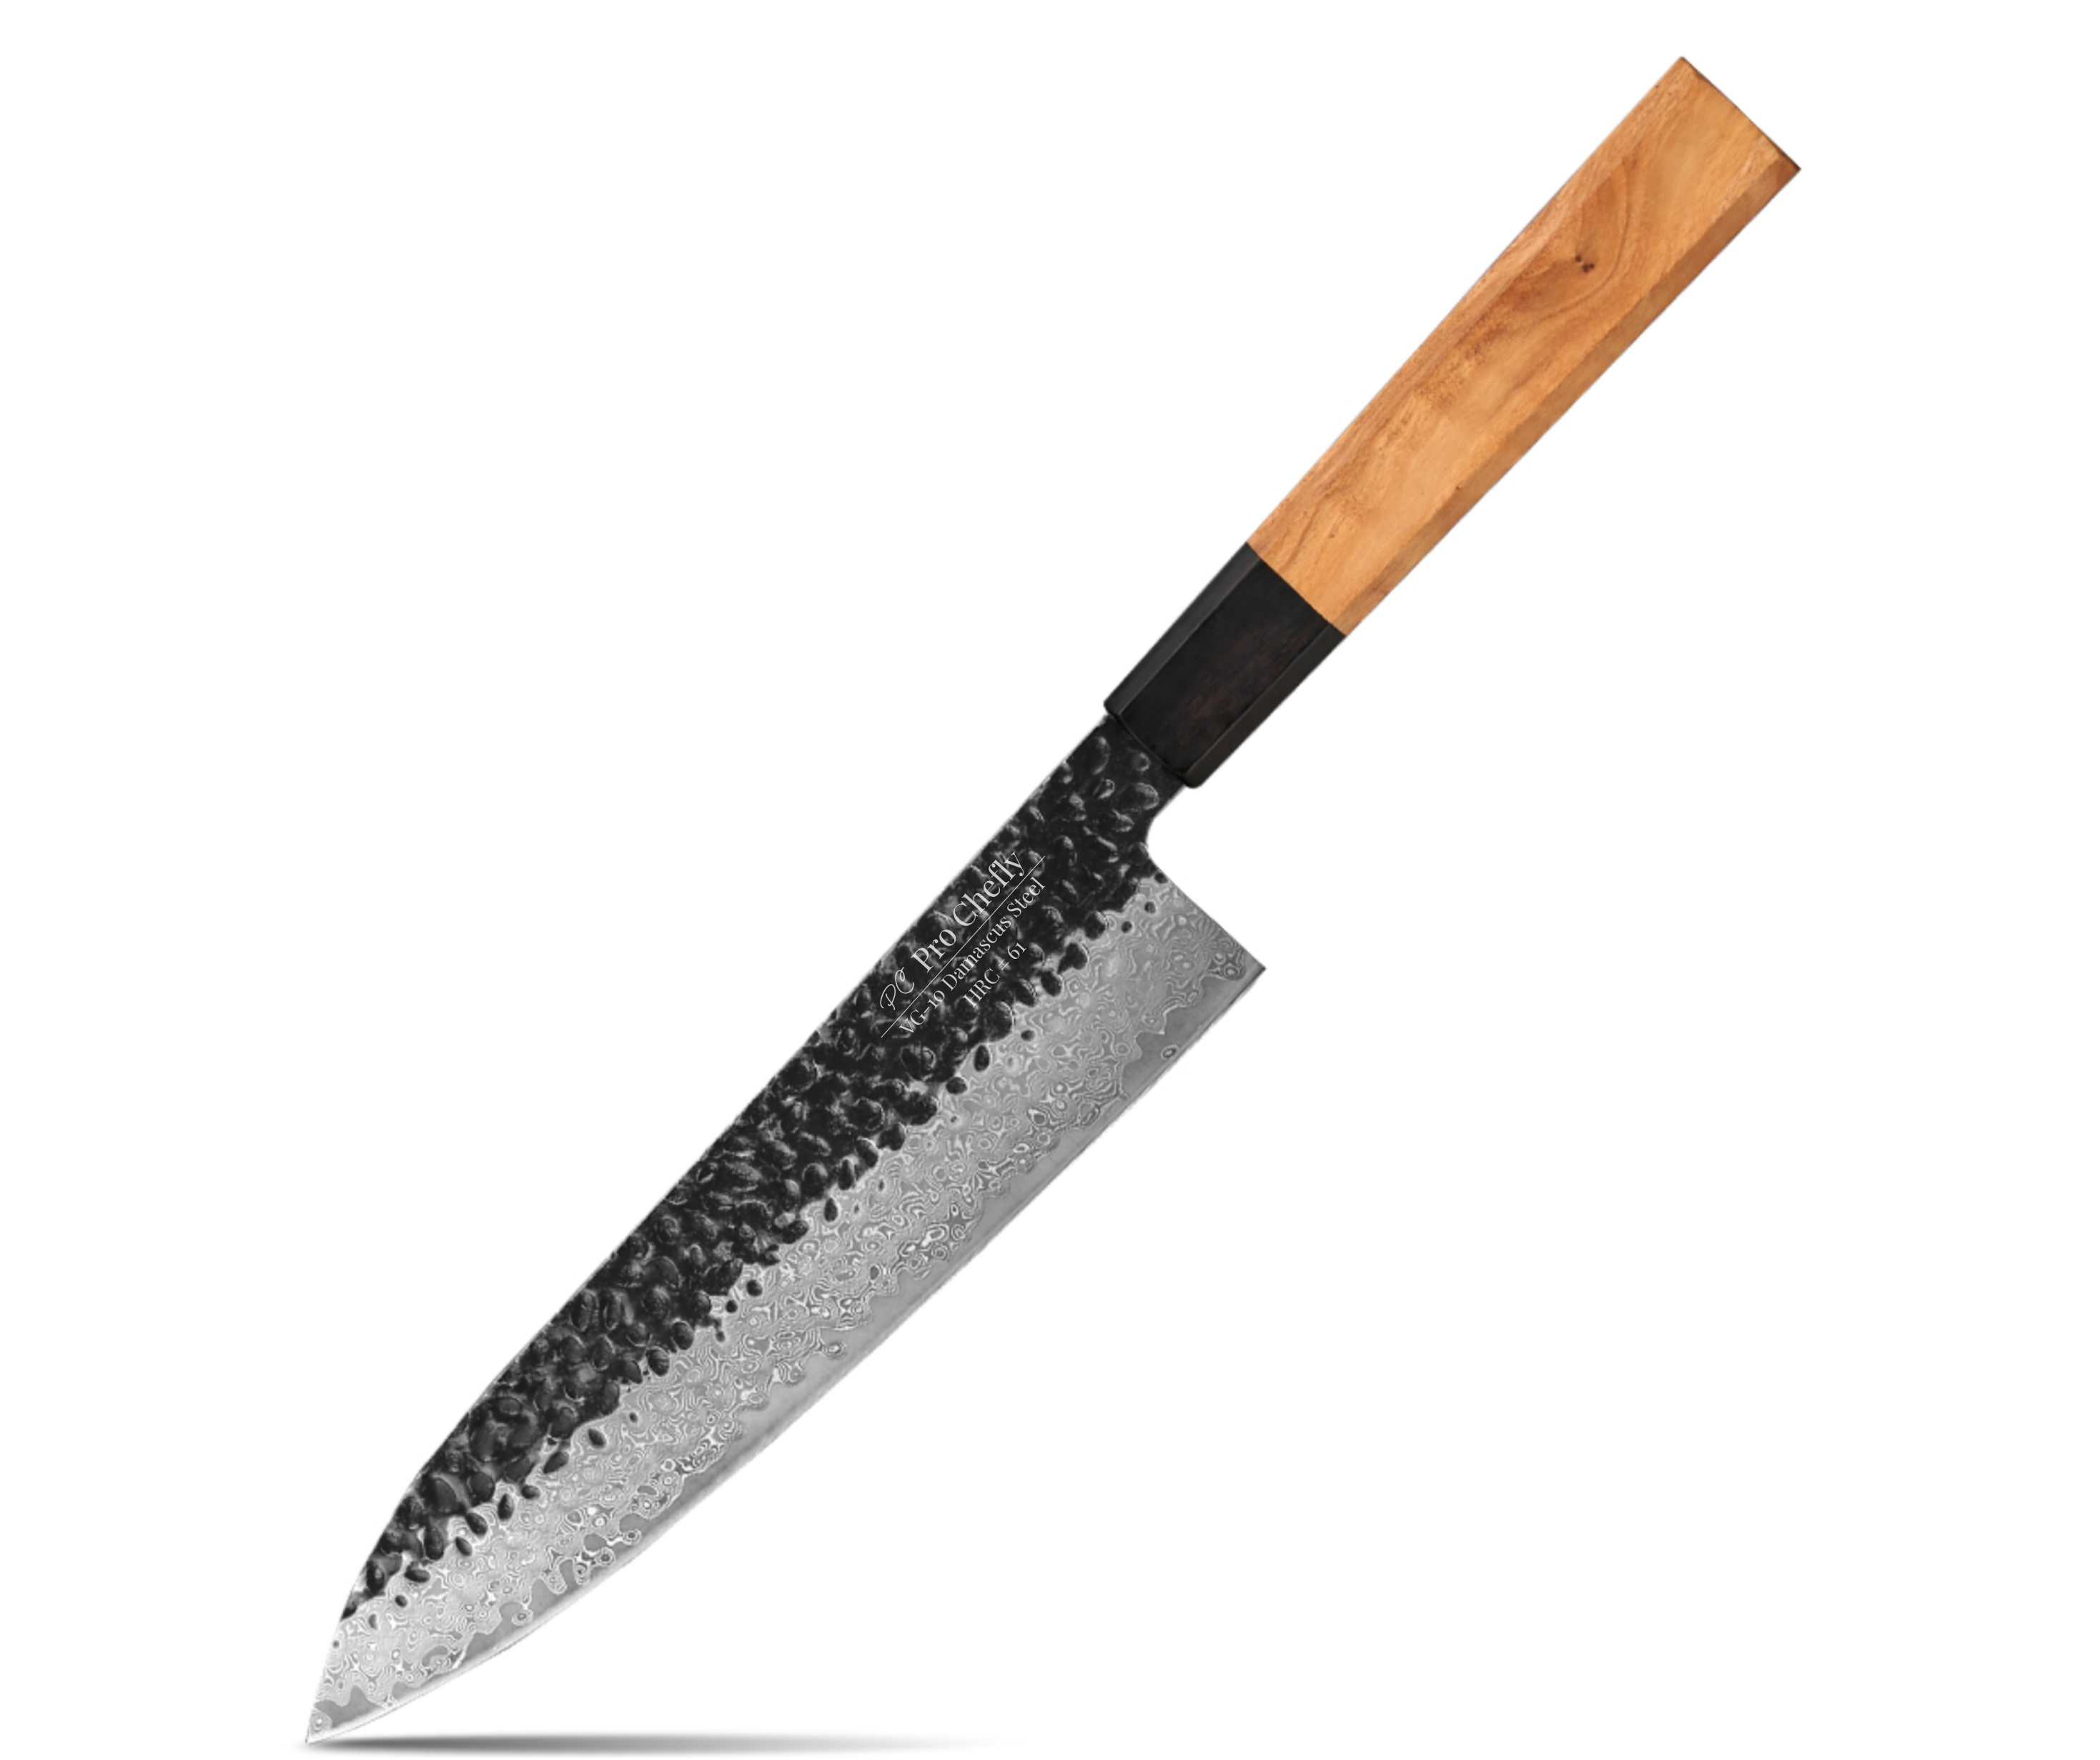
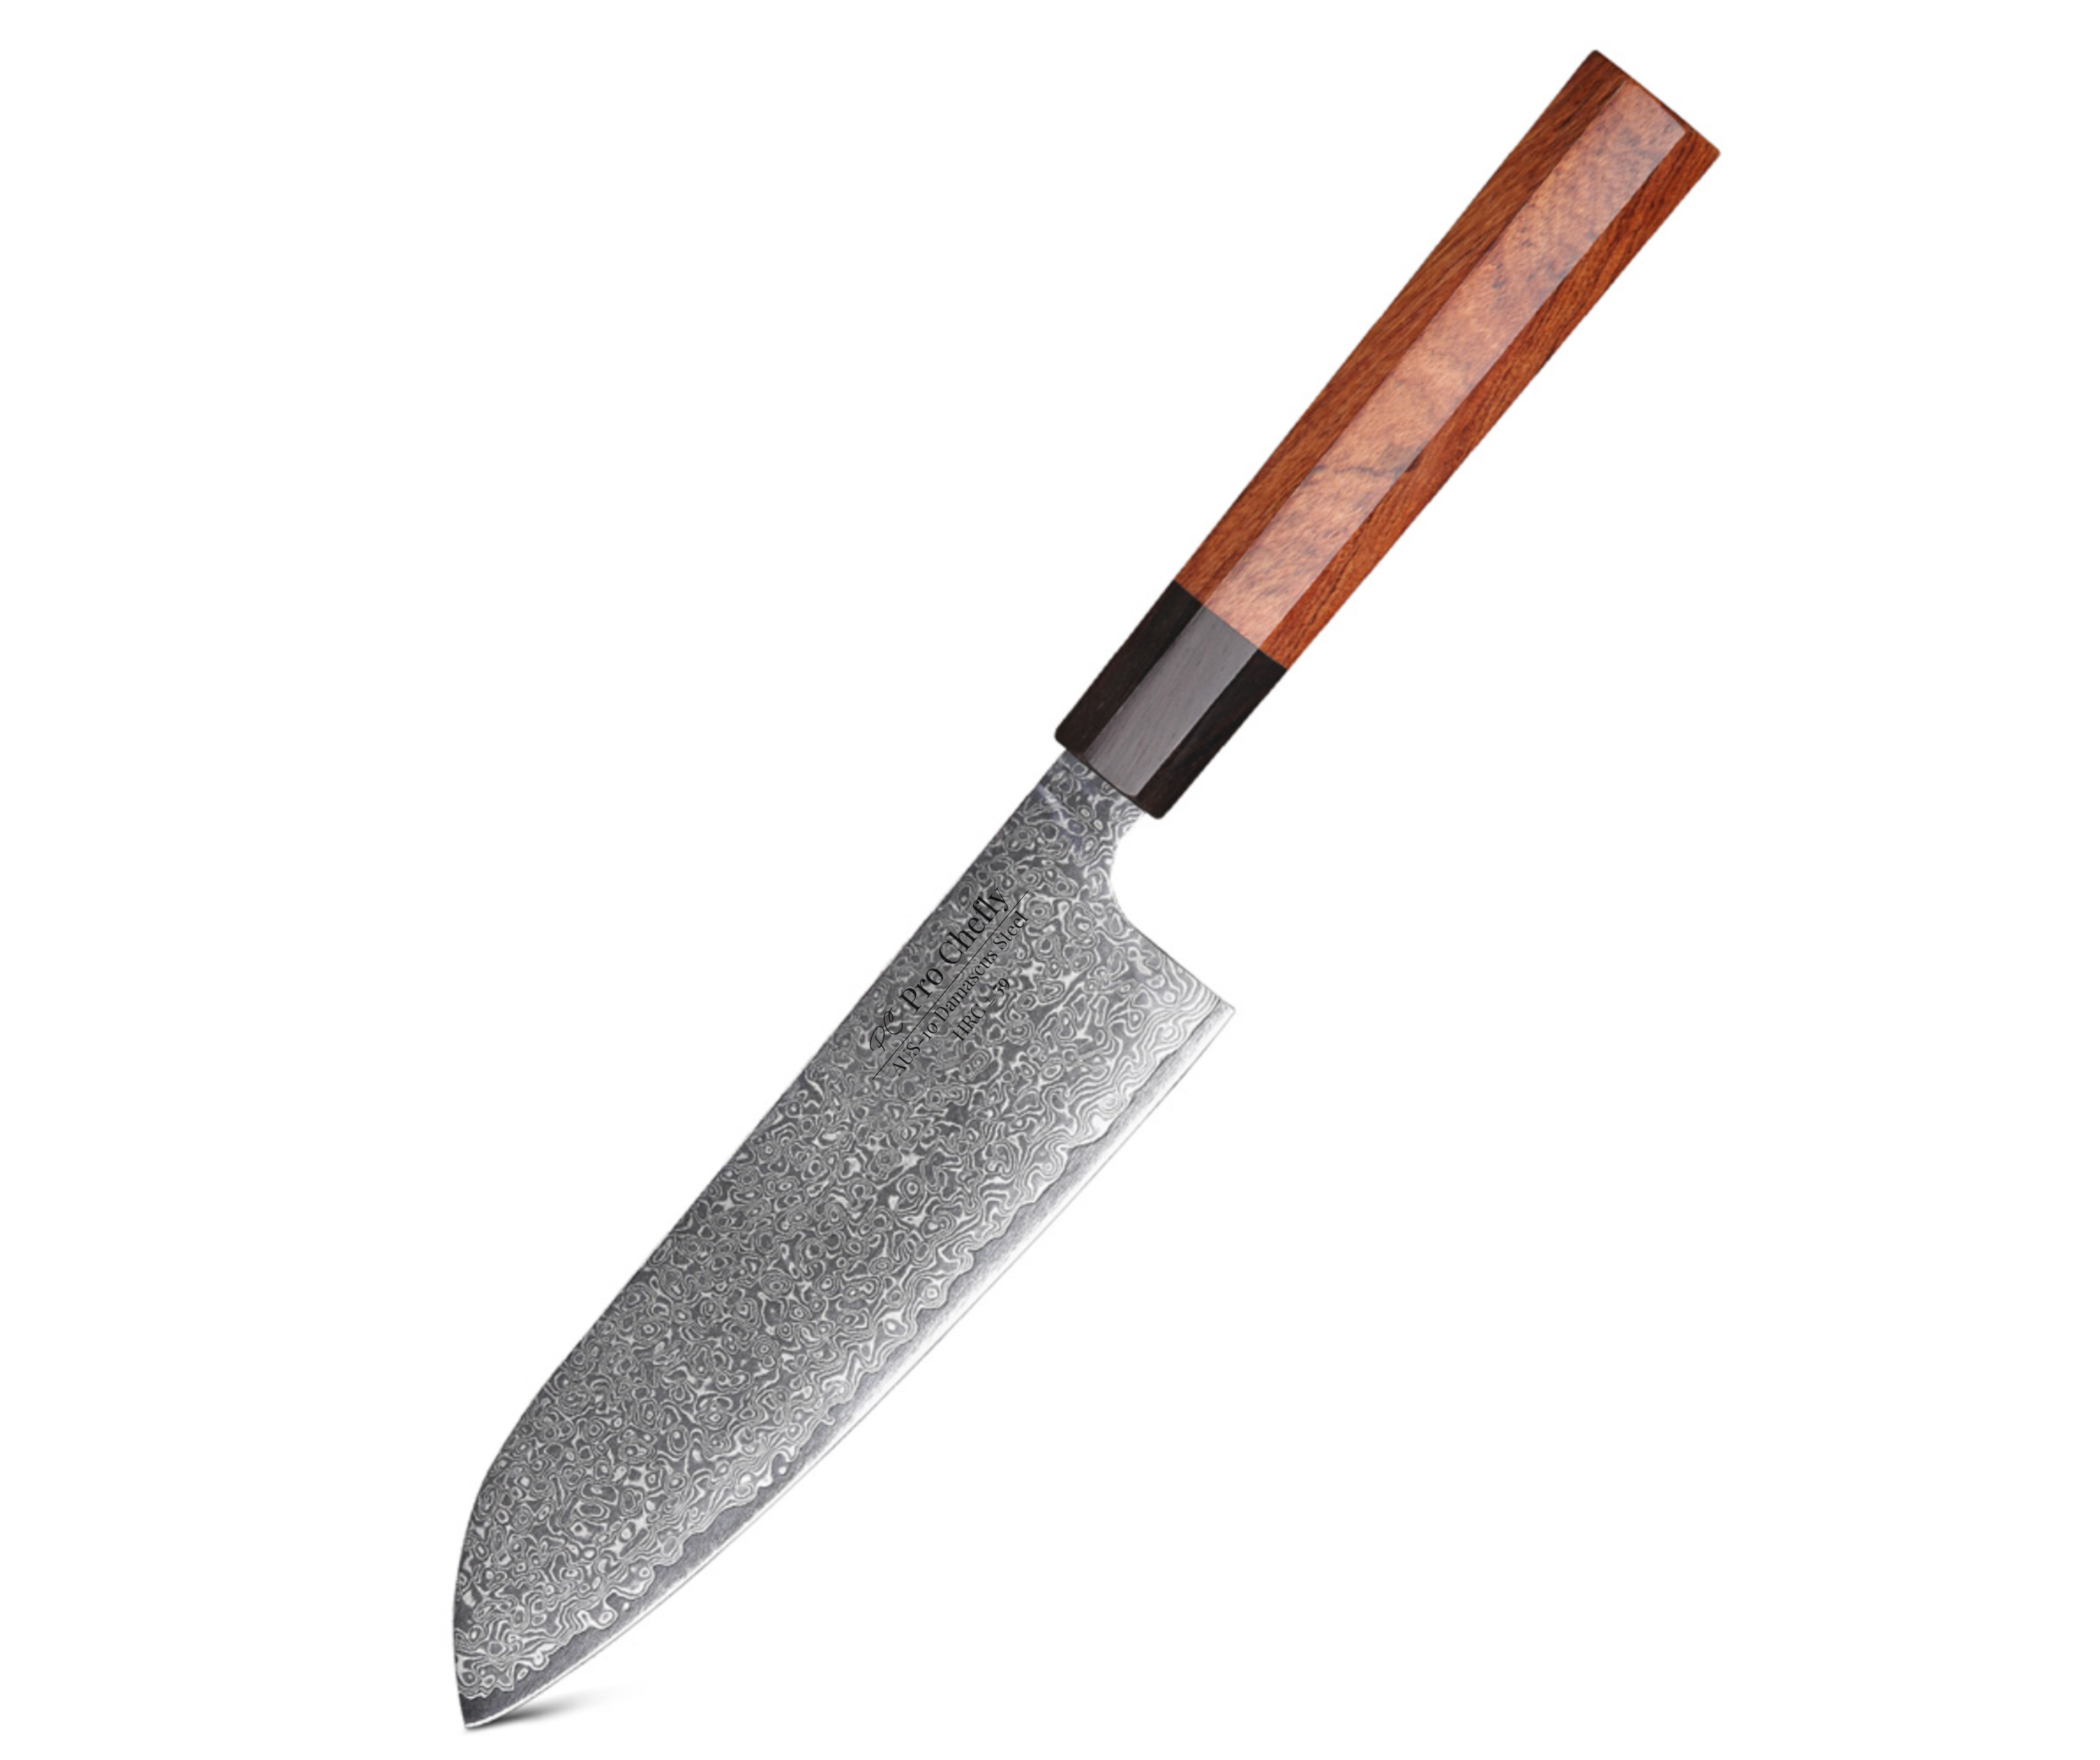
A bread knife isn’t just any serrated blade—it’s the guardian of your loaf’s texture and structure. The 8" VG-10 Damascus Bread Knife and 9" AUS-10 Damascus Bread Knife from Pro Chefly are designed with precision serrations that grip the crust without tearing the soft, delicate crumb inside. The key to perfect slicing is letting the knife do the work, not your wrist. As discussed in Why a Bread Knife Is Essential for Autumn Bakes, the difference between a clean slice and a crushed loaf often comes down to blade design and technique.
Step One – Let the Bread Cool (Patience Is Power)
Before you even think about cutting, let your pumpkin bread cool completely—at least 45 minutes to an hour. Fresh out of the oven, the crumb is still setting. Cutting too early releases steam and moisture, making the loaf gummy and prone to squishing under pressure. Cooling allows the bread’s structure to firm up naturally, giving you cleaner, smoother slices.
Step Two – Use Gentle, Sawing Motions
A common mistake is pressing straight down, which compresses your loaf. Instead, use long, controlled sawing motions with minimal downward pressure. The 8" VG-10 Damascus Bread Knife has razor-sharp serrations that glide through crusty edges and soft interiors alike. As mentioned in How to Use a Chef Knife Safely and Efficiently, the trick to great cuts isn’t strength—it’s consistency and control.
Pro Tip: Angle Your Knife Slightly
Tilting the blade just a few degrees lets the serrations bite more effectively into the crust. This technique works wonders for loaves with firmer exteriors or thicker crusts, like pumpkin or banana bread.
Step Three – Stabilize Your Loaf Without Squishing It
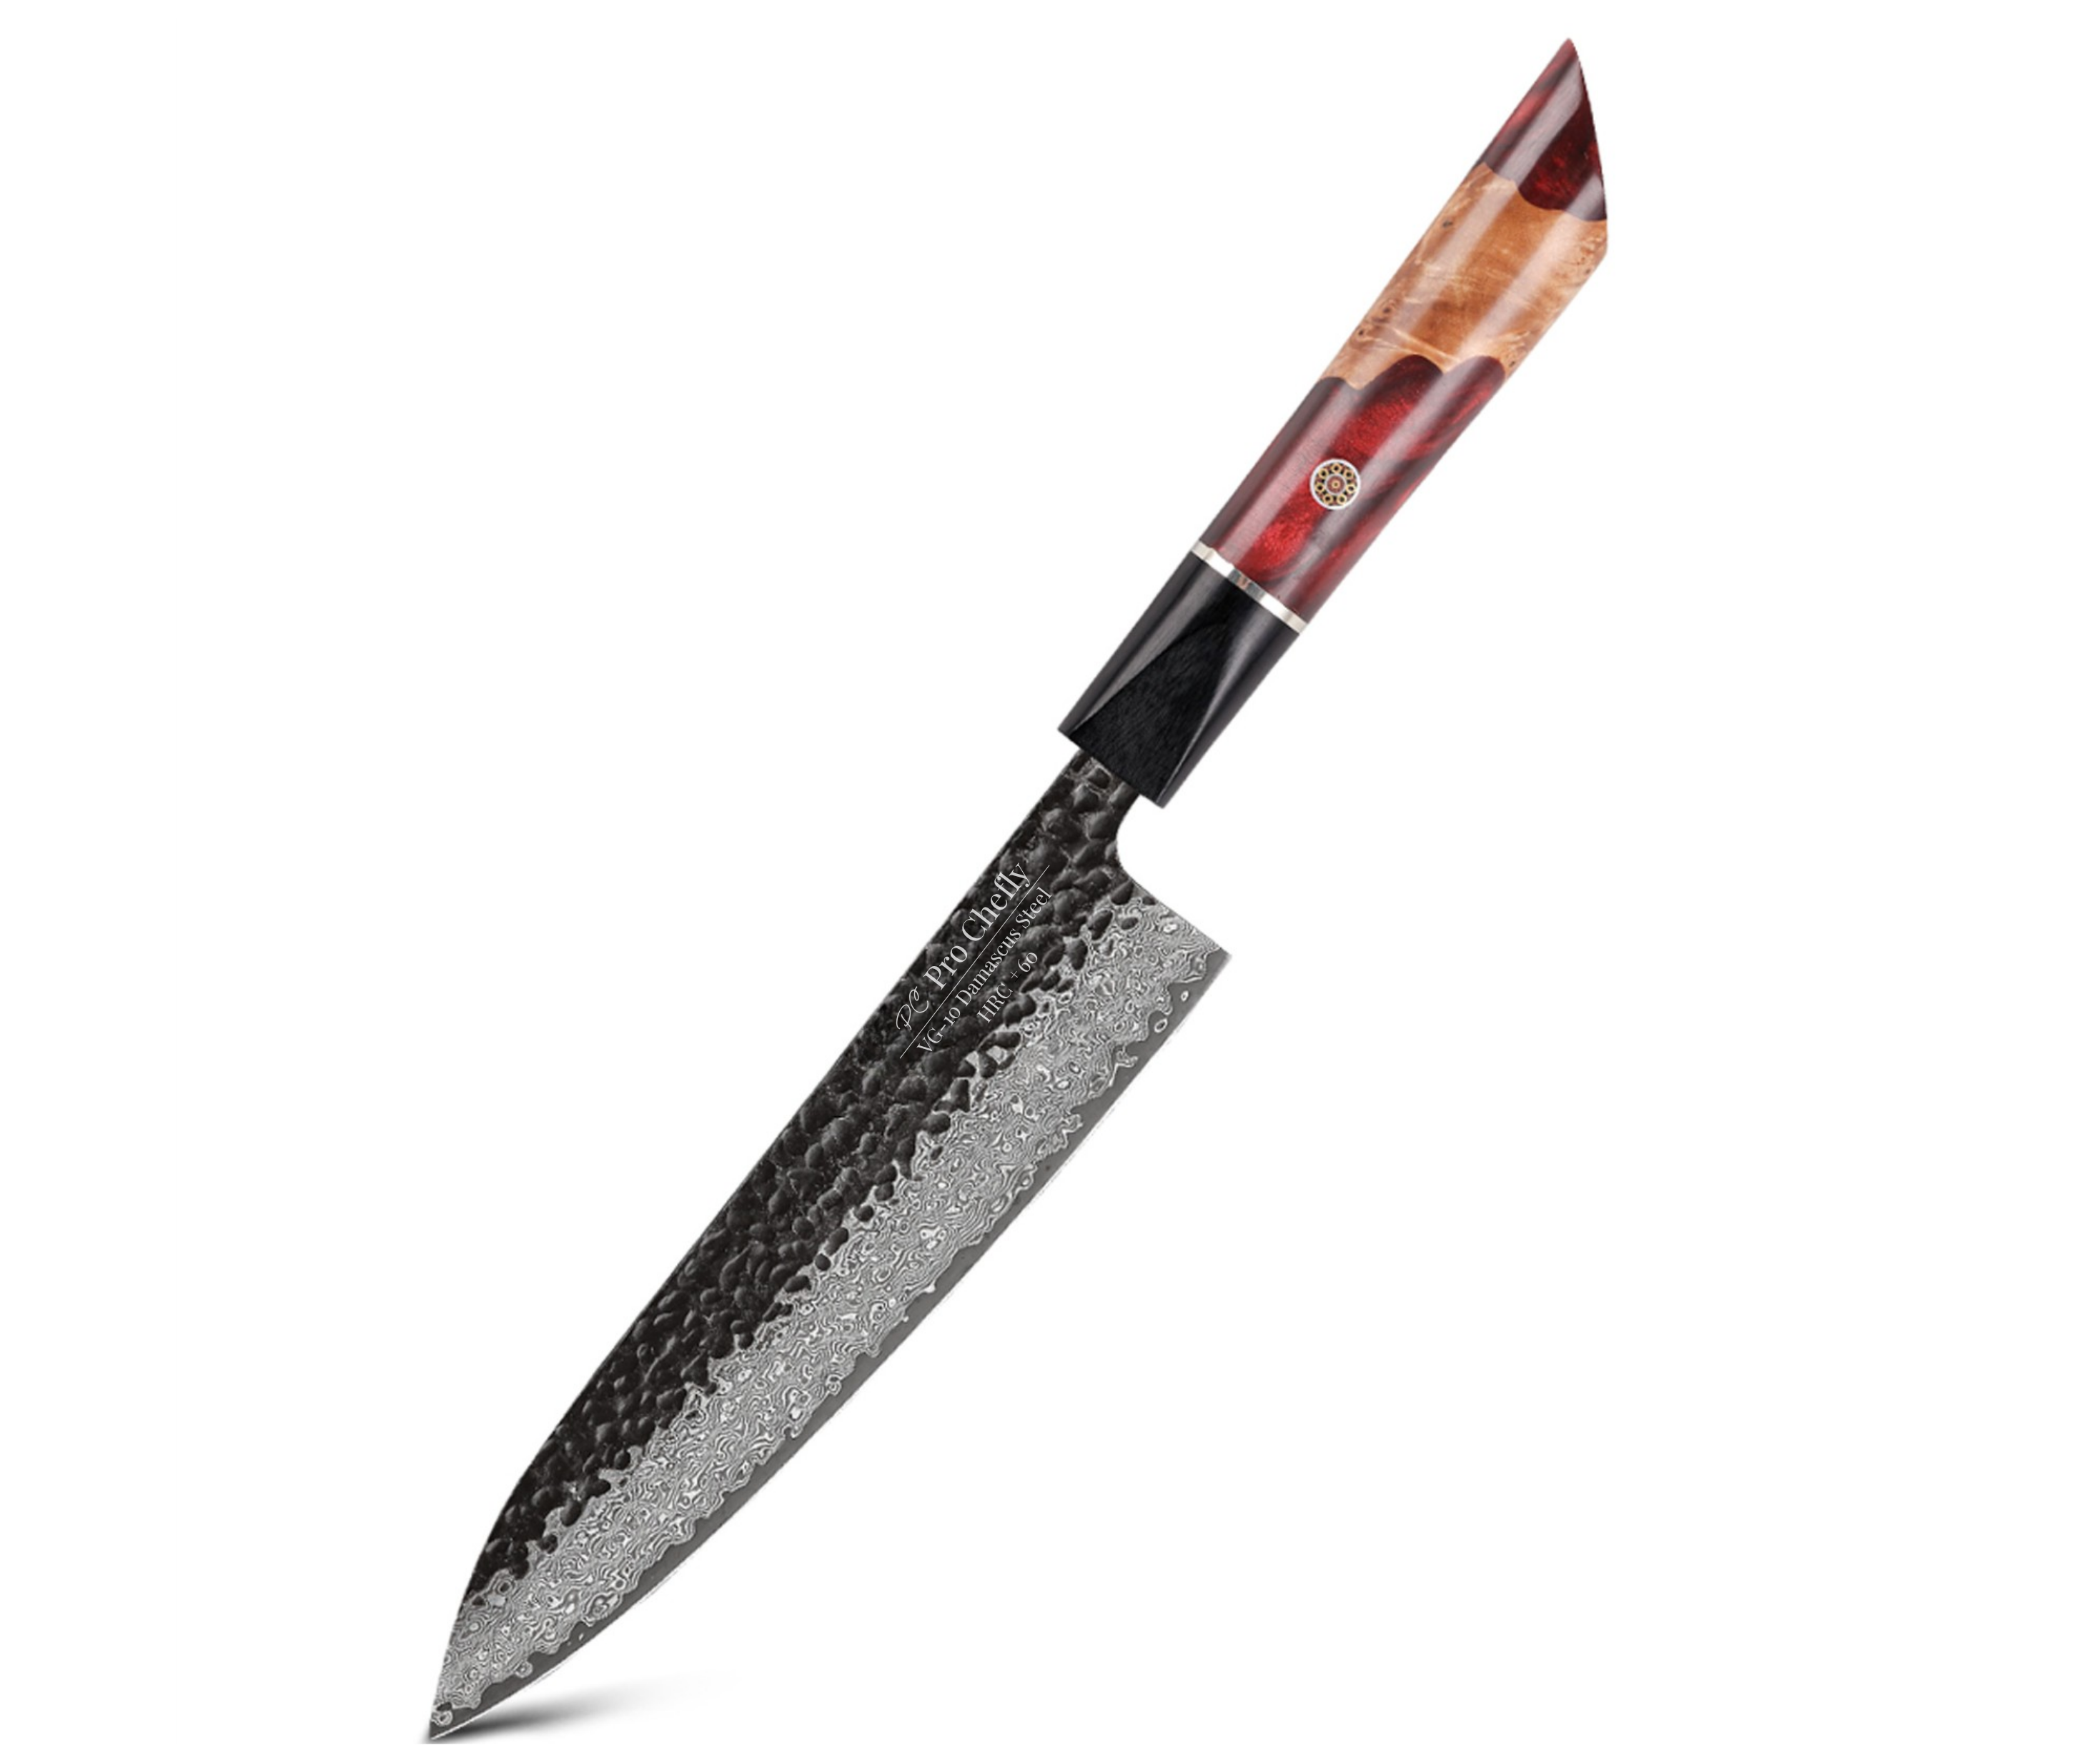
Use your non-dominant hand to gently hold the loaf in place near the edge you’re slicing. Avoid pressing down from the top. Instead, keep your fingers curled slightly inward and your palm resting lightly on the loaf’s side. The goal is balance, not pressure. Pairing your bread knife with the 5" VG-10 Damascus Petty Knife can help with more delicate tasks like trimming uneven edges or slicing smaller pastries.
Step Four – Clean the Blade Between Slices
Each slice collects a bit of crumb and moisture, which can cause dragging or tearing. Wipe your blade clean after every few cuts to maintain a smooth glide. Damascus steel, like that in Pro Chefly’s knives, resists sticking better than most, but a quick wipe makes all the difference for picture-perfect slices.
The Role of Damascus Steel in Precision Cutting
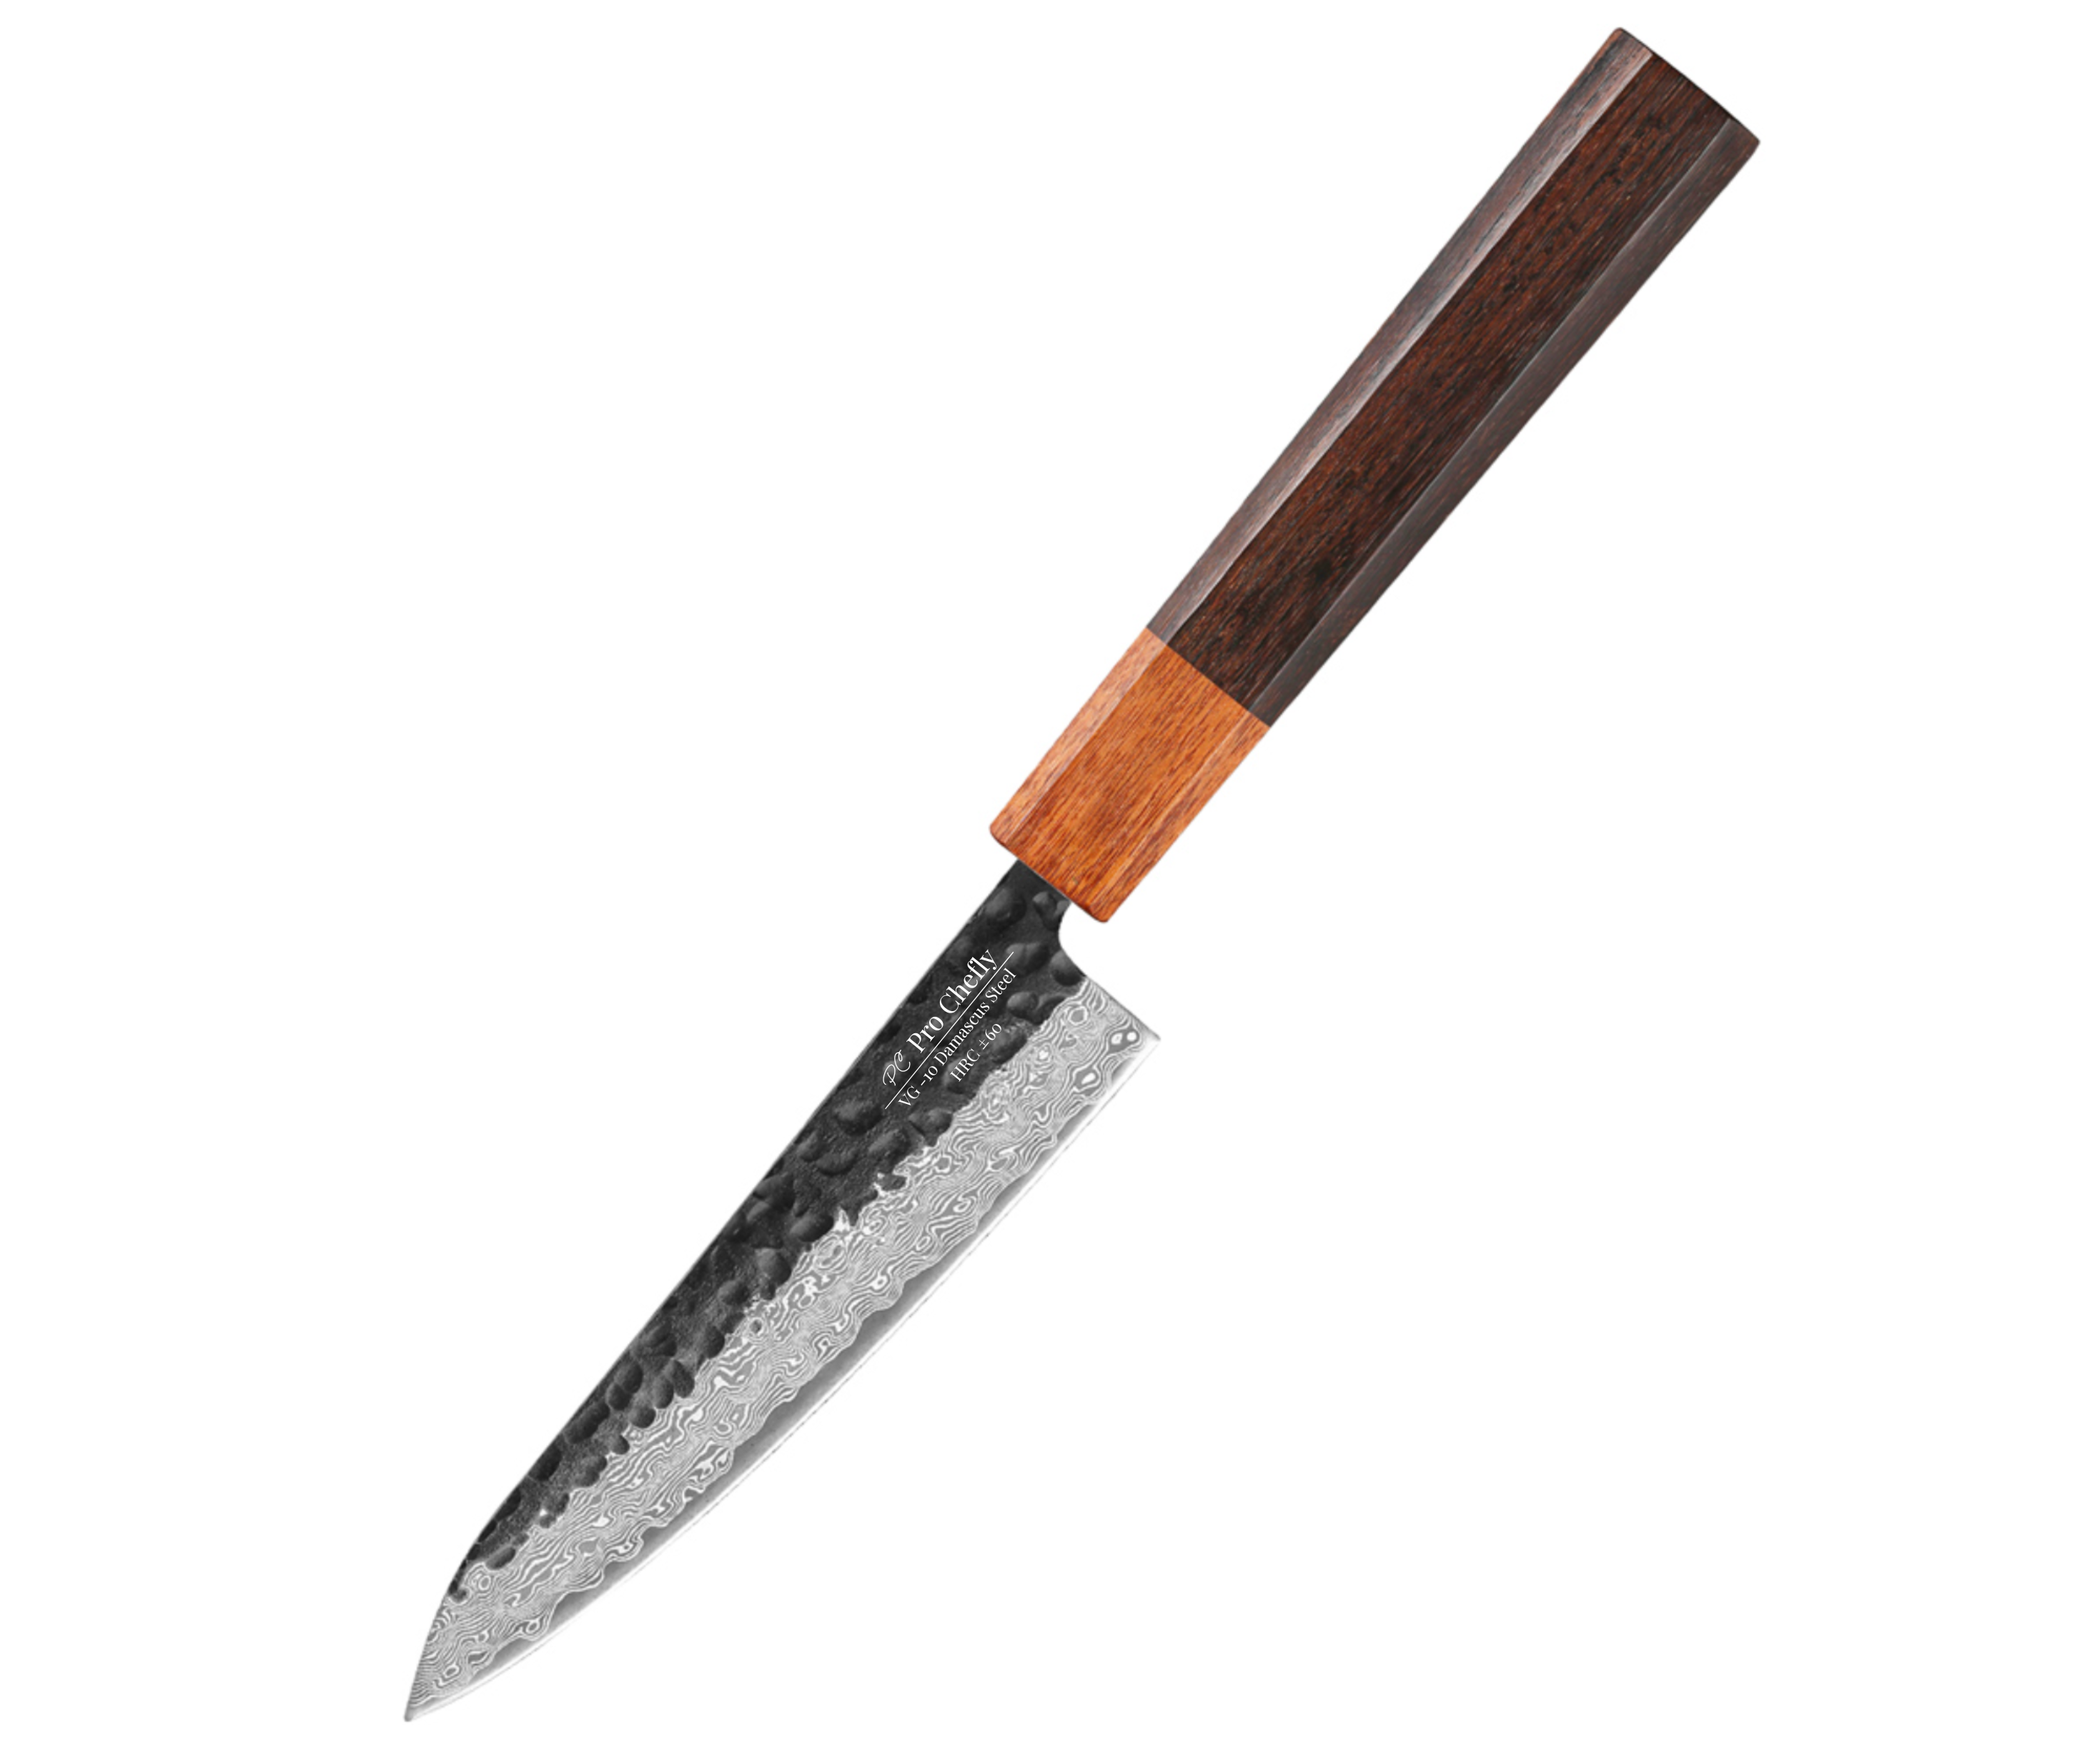
Both the 8" VG-10 Damascus Bread Knife and 9" AUS-10 Damascus Bread Knife feature layered steel construction for unmatched sharpness and durability. The serrations stay sharper longer, while the Damascus pattern adds strength and a touch of artistry. As highlighted in How VG-10 Steel Balances Edge Retention and Durability, these knives aren’t just built for performance—they’re built to last through countless loaves and seasons.
The Final Cut – Mastering the Slice
Pumpkin bread is as much about patience as it is about precision. The right bread knife turns slicing into a smooth, satisfying ritual rather than a frustrating mess. So next time you pull that golden loaf from the oven, reach for your Pro Chefly blade, let it cool, and glide through each slice with confidence. Because in the kitchen, control is the difference between “homemade” and “chef-made.”
Knife Collections
Shop the latest in Pro Chefly Damascus Knives


Chef's Notes
Stay up to date with the latest kitchen stories and recipes

- March 25, 2026
Dear Chefs, this is one of those dishes that feels like it belongs next to the ocean, even if you’re...

- March 23, 2026
Dear Chefs, this is the kind of spring dish that wakes up your entire kitchen the moment it hits the...

- March 19, 2026
Dear Chefs, some dinners don’t whisper, they walk into the kitchen with confidence and a little swagger. Surf and Turf...

- March 17, 2026
Dear Chefs, there’s something satisfying about a dish that feels wholesome, bright, and quietly comforting all at the same time....

- March 13, 2026
Dear Chefs, there is something about cooking whole fish that feels both elegant and surprisingly simple once you understand the...

- March 11, 2026
Dear Chefs, spring cooking always pulls me toward dishes that feel light, bright, and quietly luxurious without trying too hard....
- Choosing a selection results in a full page refresh.
- Opens in a new window.