Chef’s Overview
Dear Chefs… can I let you in on something that separates real cooks from casual dabblers? It’s not the knife. It’s not the steel. It’s not the board. It’s whether you actually know how to bring that edge back yourself — with your own two hands — at home. Because a Damascus blade is not just a possession. It’s a relationship. And the way you sharpen it determines whether that blade becomes a lifetime companion… or a slowly dying piece of steel.

Why Damascus Needs a Different Sharpening Approach
Damascus cores (especially VG-10 and AUS-10) are harder than your average grocery store stainless. That means they CAN hold a razor edge longer — but it also means sloppy sharpening can destroy the micro-geometry in a single bad session. If you’ve read How Does VG-10 Compare to AUS-10 and Other Premium Steels you know — high hardness steels demand precision in sharpening.
Damascus is Not the Steel You “Run Through a Slot”
Those little V-shaped plastic sharpeners you see sold to home cooks? They are the destroyers of edges. They tear steel, they chip microscopically, they shred geometry. And on a layered Damascus blade? They can actually ruin the visible patterning near the edge.
Step One: Choose Stones — Not Gimmicks
You don’t need 10 stones. You need two.
-
1000 grit (primary cutting)
-
6000 grit (polish + refine)
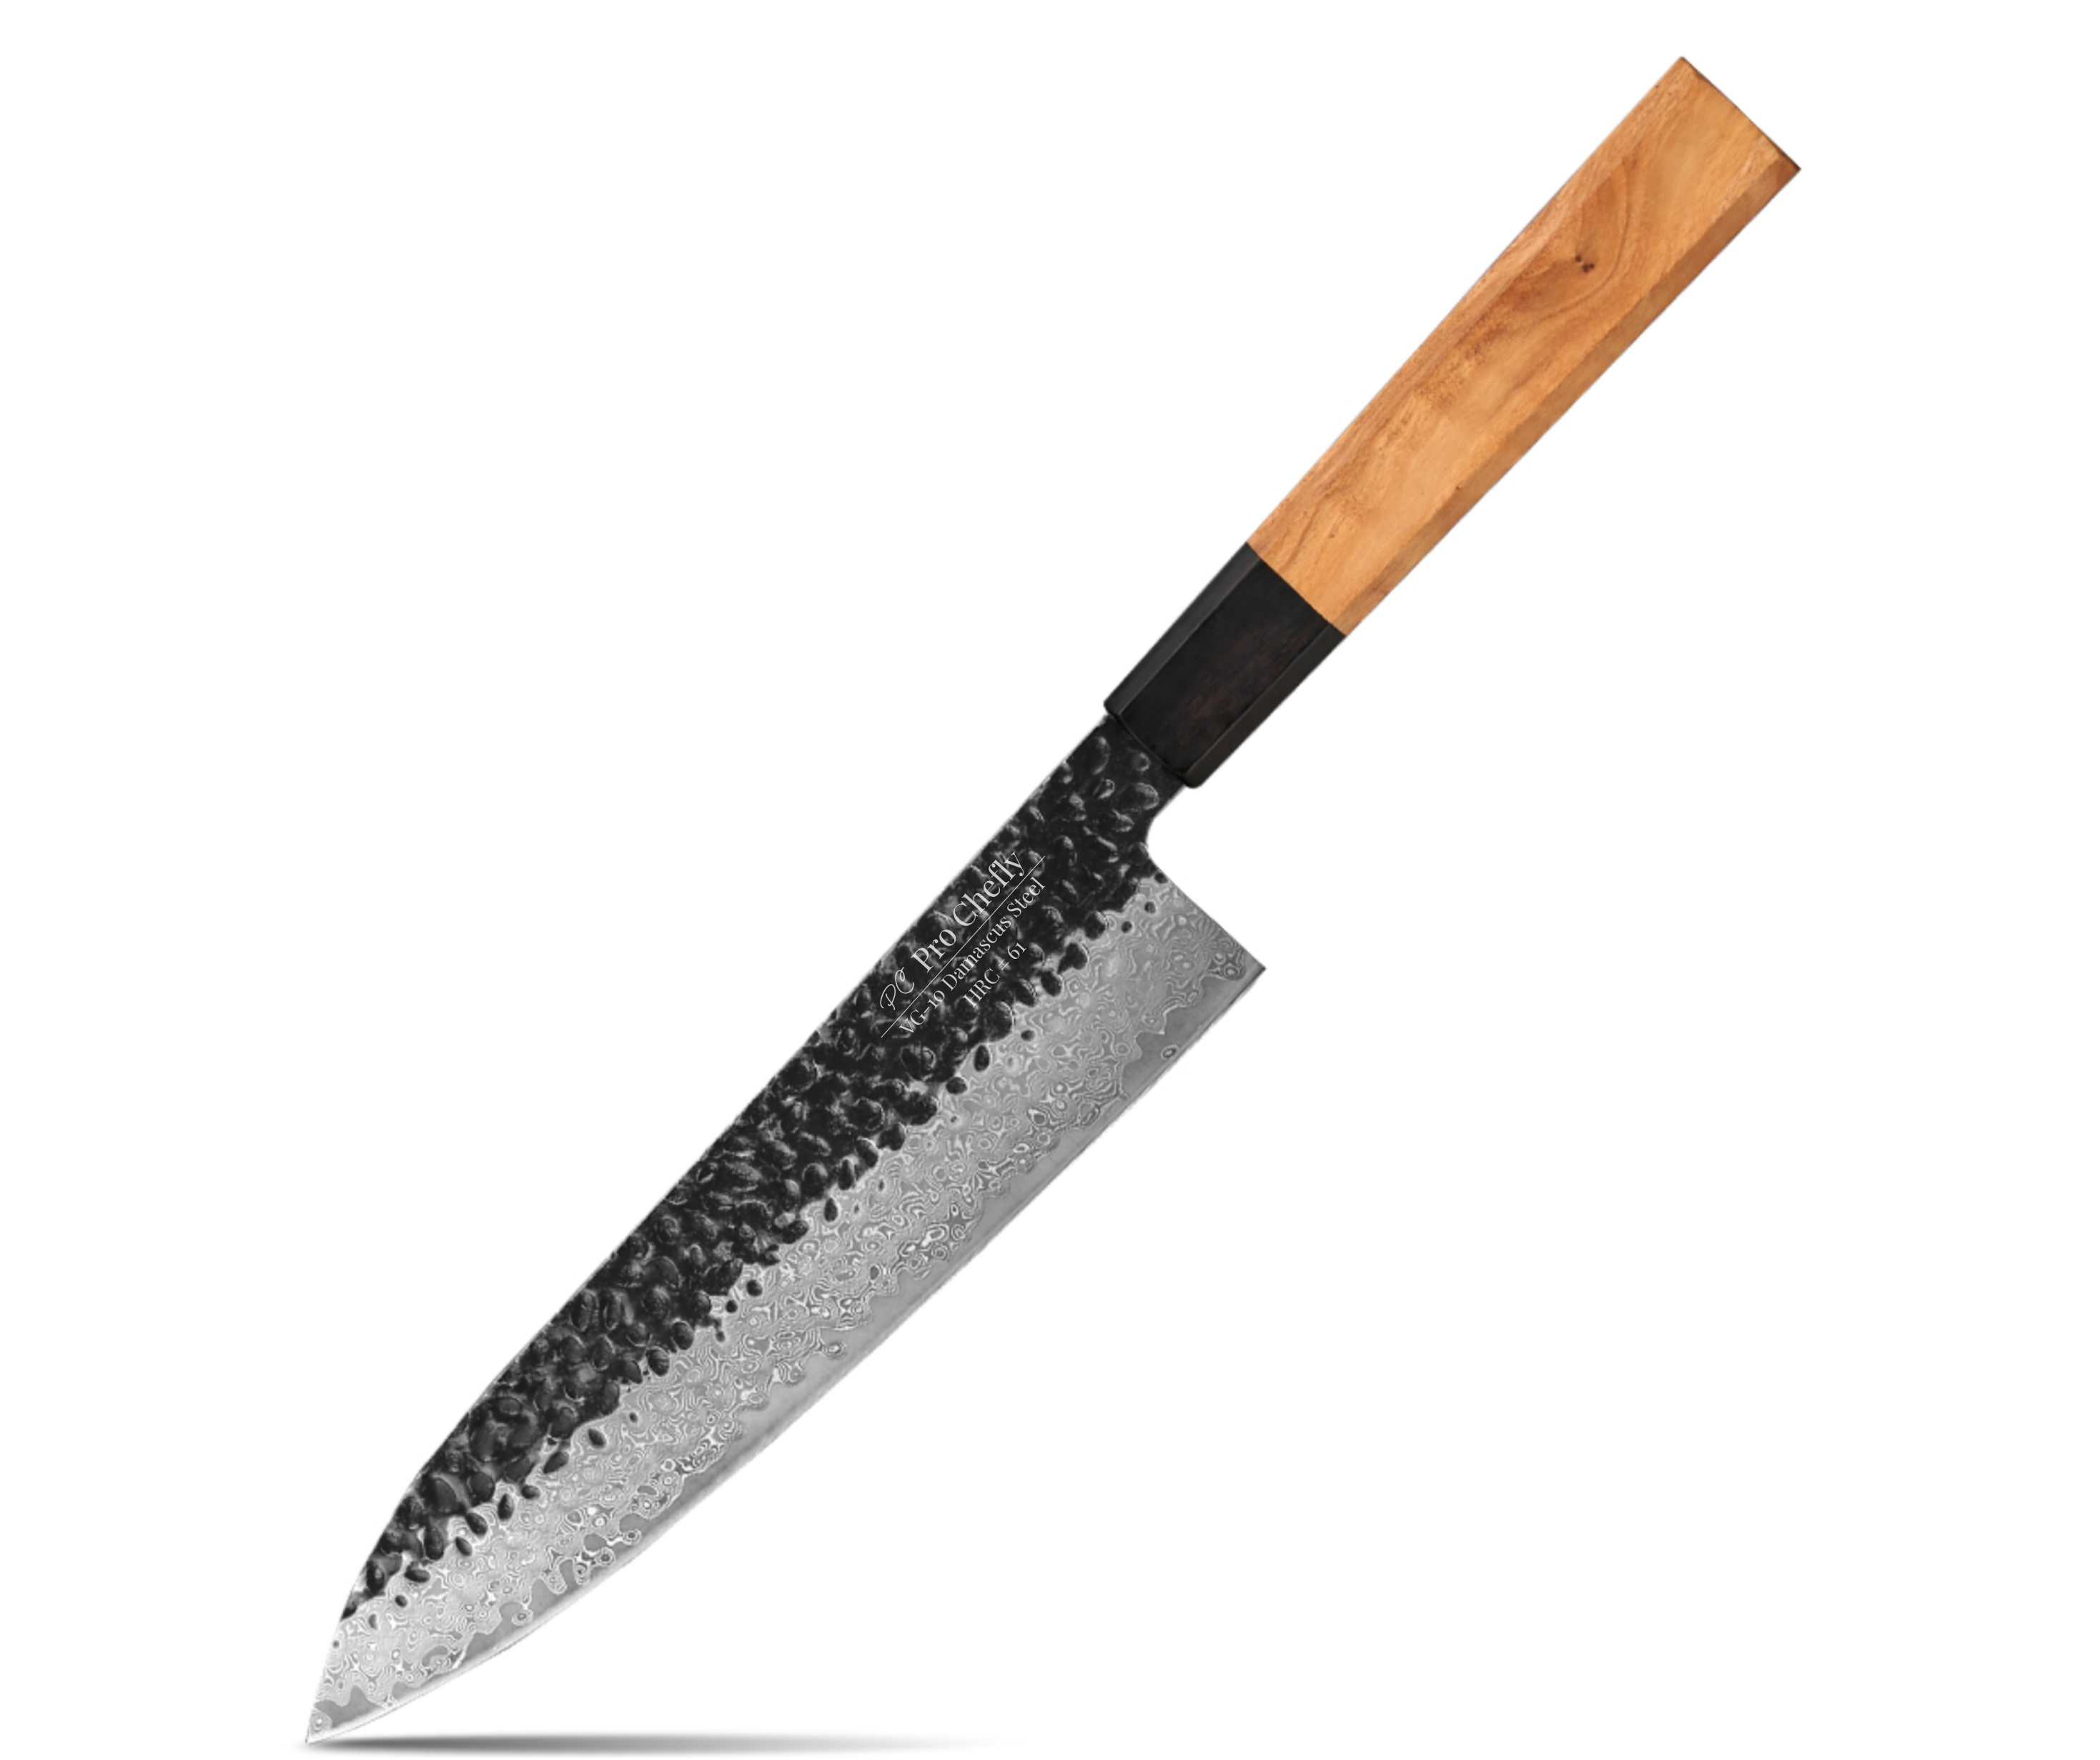
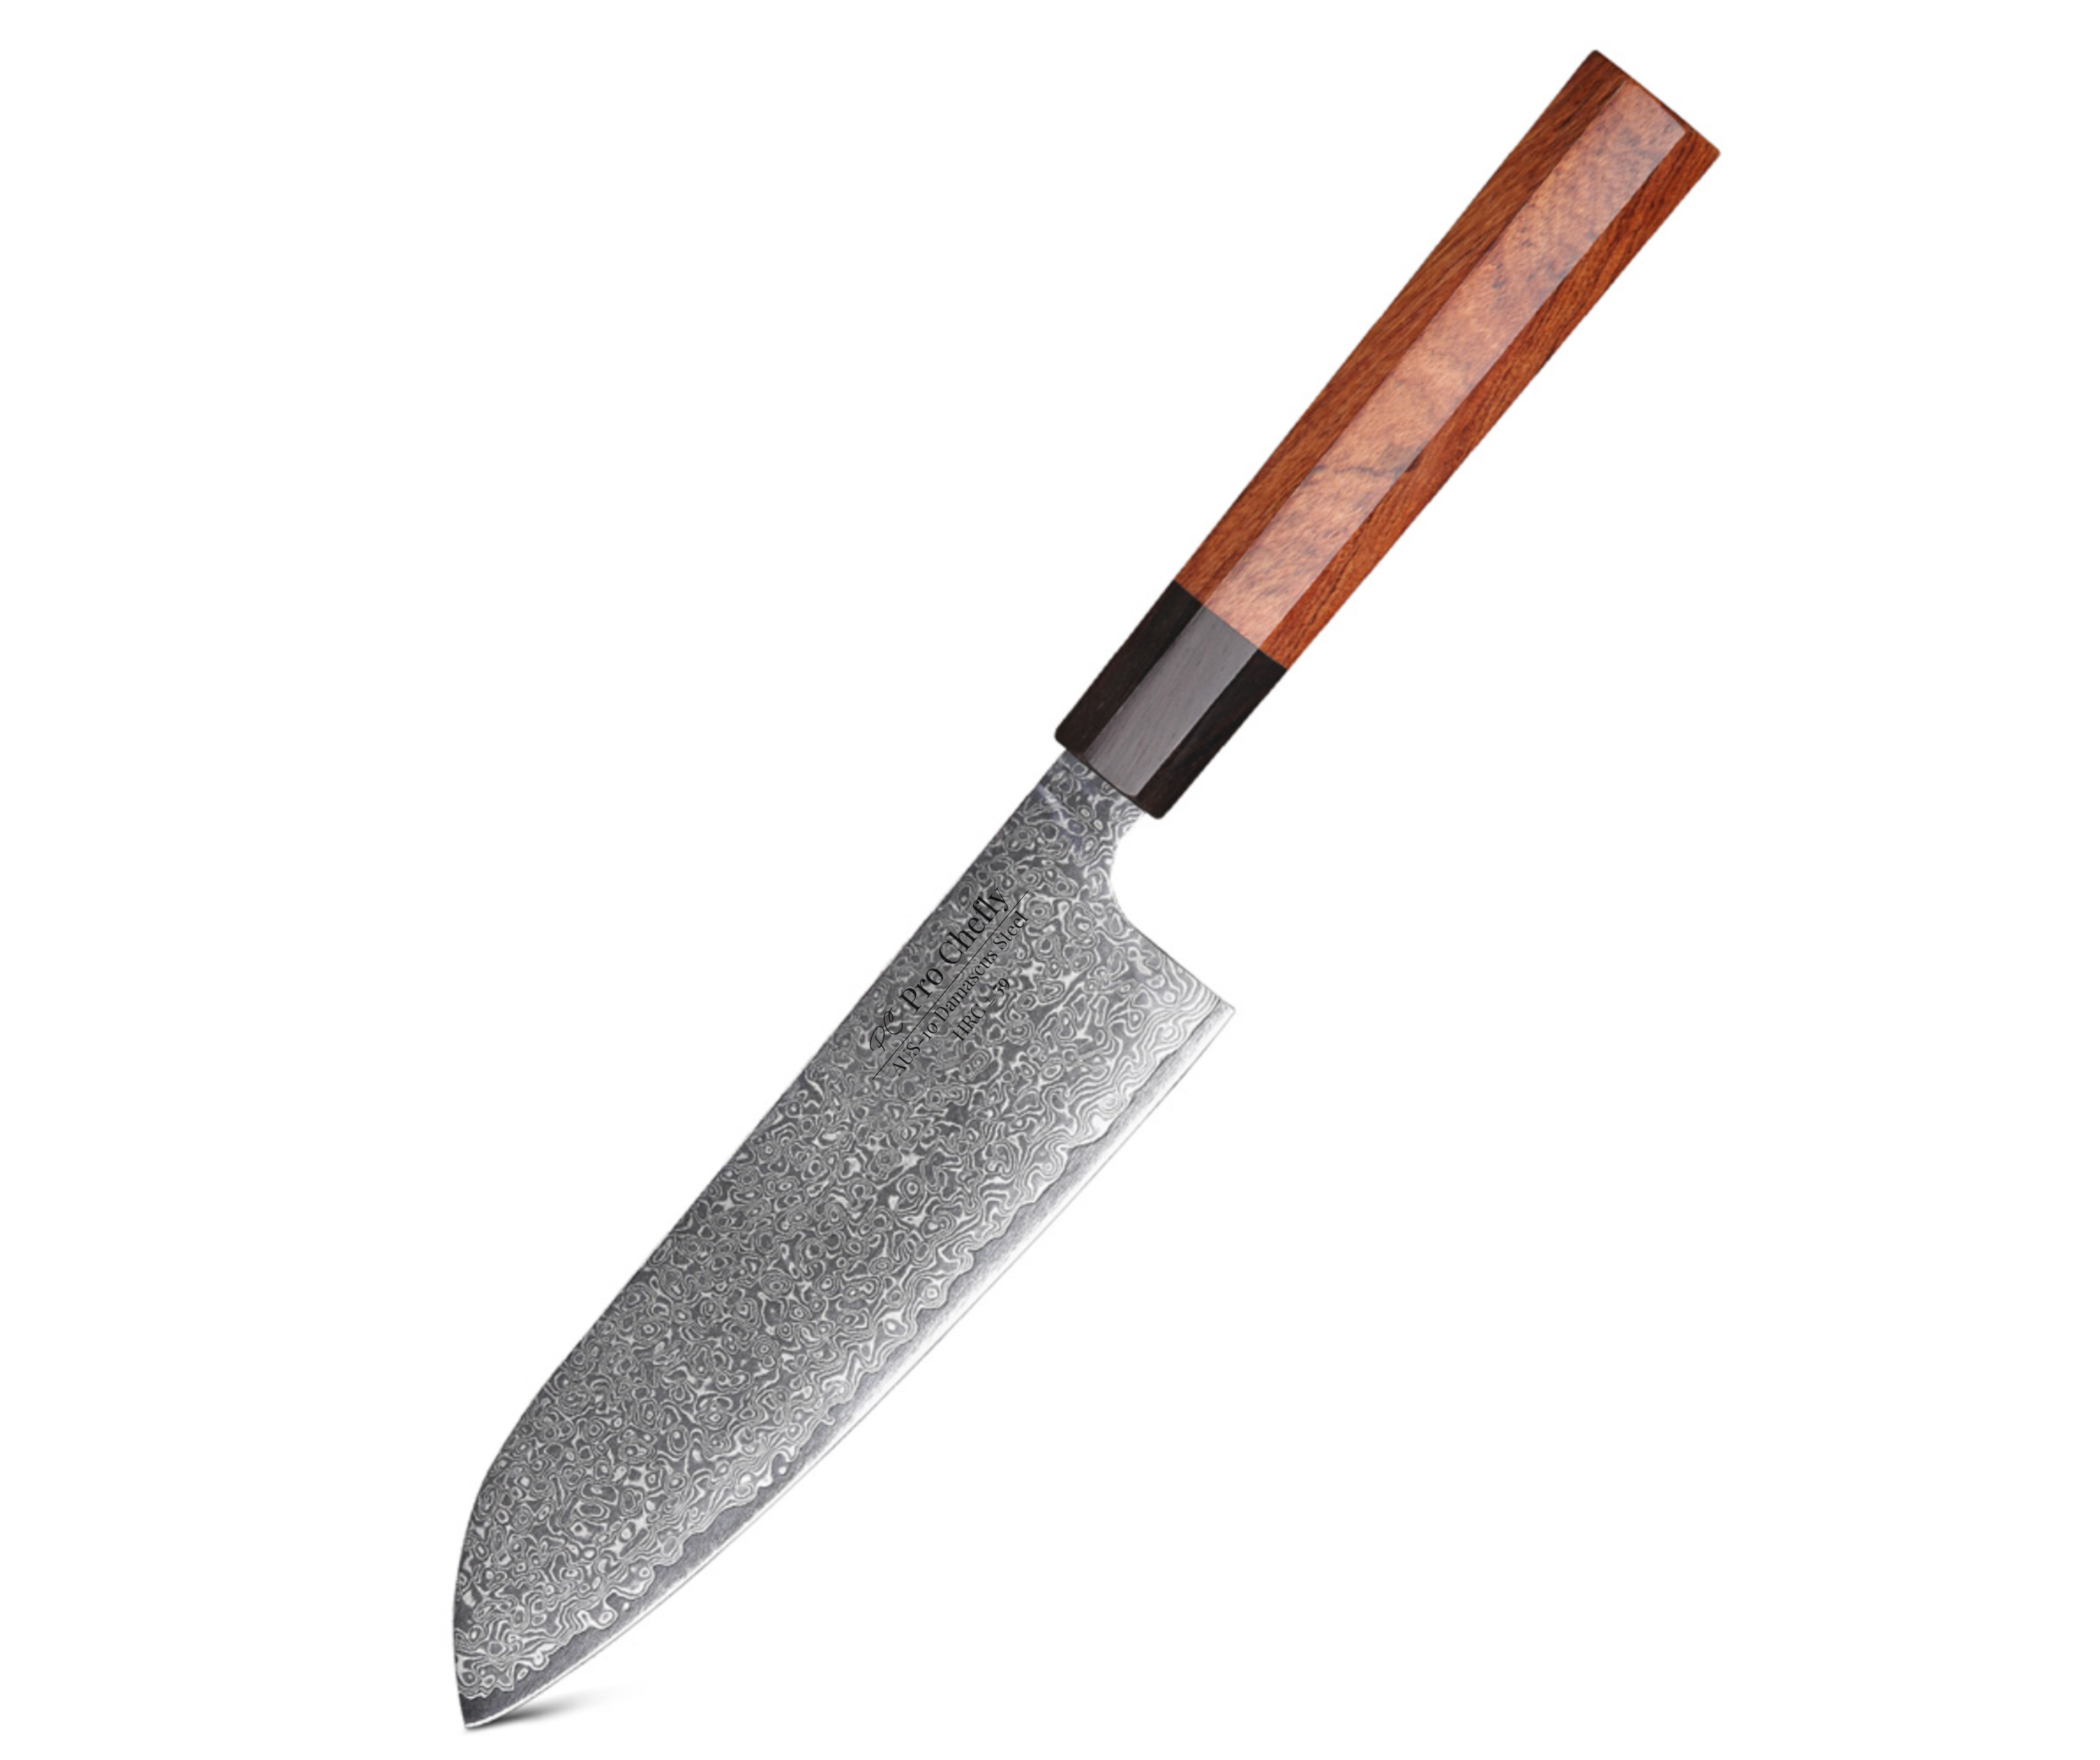
That’s it. With those two, you can take a blade like the 8" VG-10 Damascus Chef Knife from “dull enough to annoy you” to “silent through tomato skins.”
Oil Stone or Water Stone?
Water stones are the way. They’re cleaner, they’re more predictable, and they play nicer with hard Japanese steels. Damascus wants water. It wants slip. It wants glide.
Step Two: Angle Is Everything
Dear Chefs, listen to me — this is the heart of sharpening.
For VG-10 and AUS-10 Damascus, the sweet zone is:
11°–14° per side
Most home cooks unknowingly sharpen at 18°–25° because it feels like a natural angle to rest the blade.
Don’t feel for what seems natural — feel for what is right.
If you’ve ever read How to Properly Sharpen and Maintain a Chef Knife at Home, you know this: lower angles = sharper edges but demand more control.
Step Three: Long Strokes — One Direction
Here’s a rule people don’t realize matters:
Sharpening strokes should go AWAY from the edge.
If you are confused by this — ask yourself this simple question:
Do you want to cut INTO your stone — or glide ACROSS your stone?
The Home Chef Pattern to Follow
-
10 slow strokes left side
-
10 slow strokes right side
-
Check burr
-
Repeat 5 and 5
-
Then polish at 6000 grit using the same rhythm
This is the same pattern I use on my 8" VG-10 Damascus Gyuto before service days.
Step Four: Finish With a Strop
This is where the razor edge happens.
Leather strop. 1–2 micron compound. 10 pulls each side — trailing edge only.
This removes micro-teeth and files the apex clean.
If you’ve ever wondered why some blades “feel sharper than sharp,” the answer lives here. Stropping is where blades go from “sharp” to surgical.
The Real Test of a Sharp Knife
No — not the tomato trick. Not the paper slice. Not shaving arm hair.
The real test is silent push cuts.
If you can push the blade forward without “sawing,” and green onion or apple flesh separates without sound — you’ve sharpened correctly.
This is that same “no resistance” feeling we talked about in Why Chefs Choose Damascus Steel Knives for Precision — because once a blade is properly honed, food parts like it’s volunteering to be sliced.
The Final Slice
Dear Chefs… sharpening isn’t a chore. It’s communion with the blade. It’s the moment where YOU and the steel decide if you two are still in sync. Damascus isn’t magic — it’s crafted physics. The pattern on the blade is the story of how it was born. Your sharpening is the story of how long it lives.
Knife Collections
Shop the latest in Pro Chefly Damascus Knives


Chef's Notes
Stay up to date with the latest kitchen stories and recipes

- March 25, 2026
Dear Chefs, this is one of those dishes that feels like it belongs next to the ocean, even if you’re...

- March 23, 2026
Dear Chefs, this is the kind of spring dish that wakes up your entire kitchen the moment it hits the...

- March 19, 2026
Dear Chefs, some dinners don’t whisper, they walk into the kitchen with confidence and a little swagger. Surf and Turf...

- March 17, 2026
Dear Chefs, there’s something satisfying about a dish that feels wholesome, bright, and quietly comforting all at the same time....

- March 13, 2026
Dear Chefs, there is something about cooking whole fish that feels both elegant and surprisingly simple once you understand the...

- March 11, 2026
Dear Chefs, spring cooking always pulls me toward dishes that feel light, bright, and quietly luxurious without trying too hard....
- Choosing a selection results in a full page refresh.
- Opens in a new window.