Chef’s Overview
Dear Chefs, there’s something deeply satisfying about pulling a tray of golden, chewy bagels out of your own oven. That glossy crust, that dense but tender crumb, it all comes down to mastering two simple steps, the boil and the bake. Today, I’m walking you through how to get that classic bagel texture at home, with the kind of control that turns a good batch into a great one. And once you feel that dough come together in your hands, you’ll understand why this process matters.

Ingredient List
• 4 cups bread flour
• 1 ½ teaspoons salt
• 1 tablespoon sugar
• 2 teaspoons active dry yeast
• 1 ½ cups warm water, about 110°F
For the Boil
• 8 cups water
• 2 tablespoons honey or barley malt syrup
• 1 teaspoon baking soda
Optional Toppings
• Sesame seeds
• Poppy seeds
• Everything seasoning
• Flaky sea salt
Step-by-Step Bagel Recipe for Perfect Chewy Texture
Step 1, Activate the Yeast
Combine warm water and sugar, then stir in the yeast.
Step 2, Let the Yeast Bloom
Let the mixture sit for about 5 minutes until foamy and active.
Step 3, Mix the Dough
In a large bowl, combine bread flour and salt, then pour in the yeast mixture and mix until a shaggy dough forms.
Step 4, Knead the Dough
Turn the dough onto a clean surface and knead for 8 to 10 minutes until smooth and elastic.
Step 5, Check Dough Texture
Make sure the dough is slightly tacky but not sticky and springs back when pressed.
Step 6, Begin the First Rise
Place the dough in a lightly oiled bowl and cover it.
Step 7, Let the Dough Rise
Allow it to rise for about 1 hour or until doubled in size.
Step 8, Divide the Dough
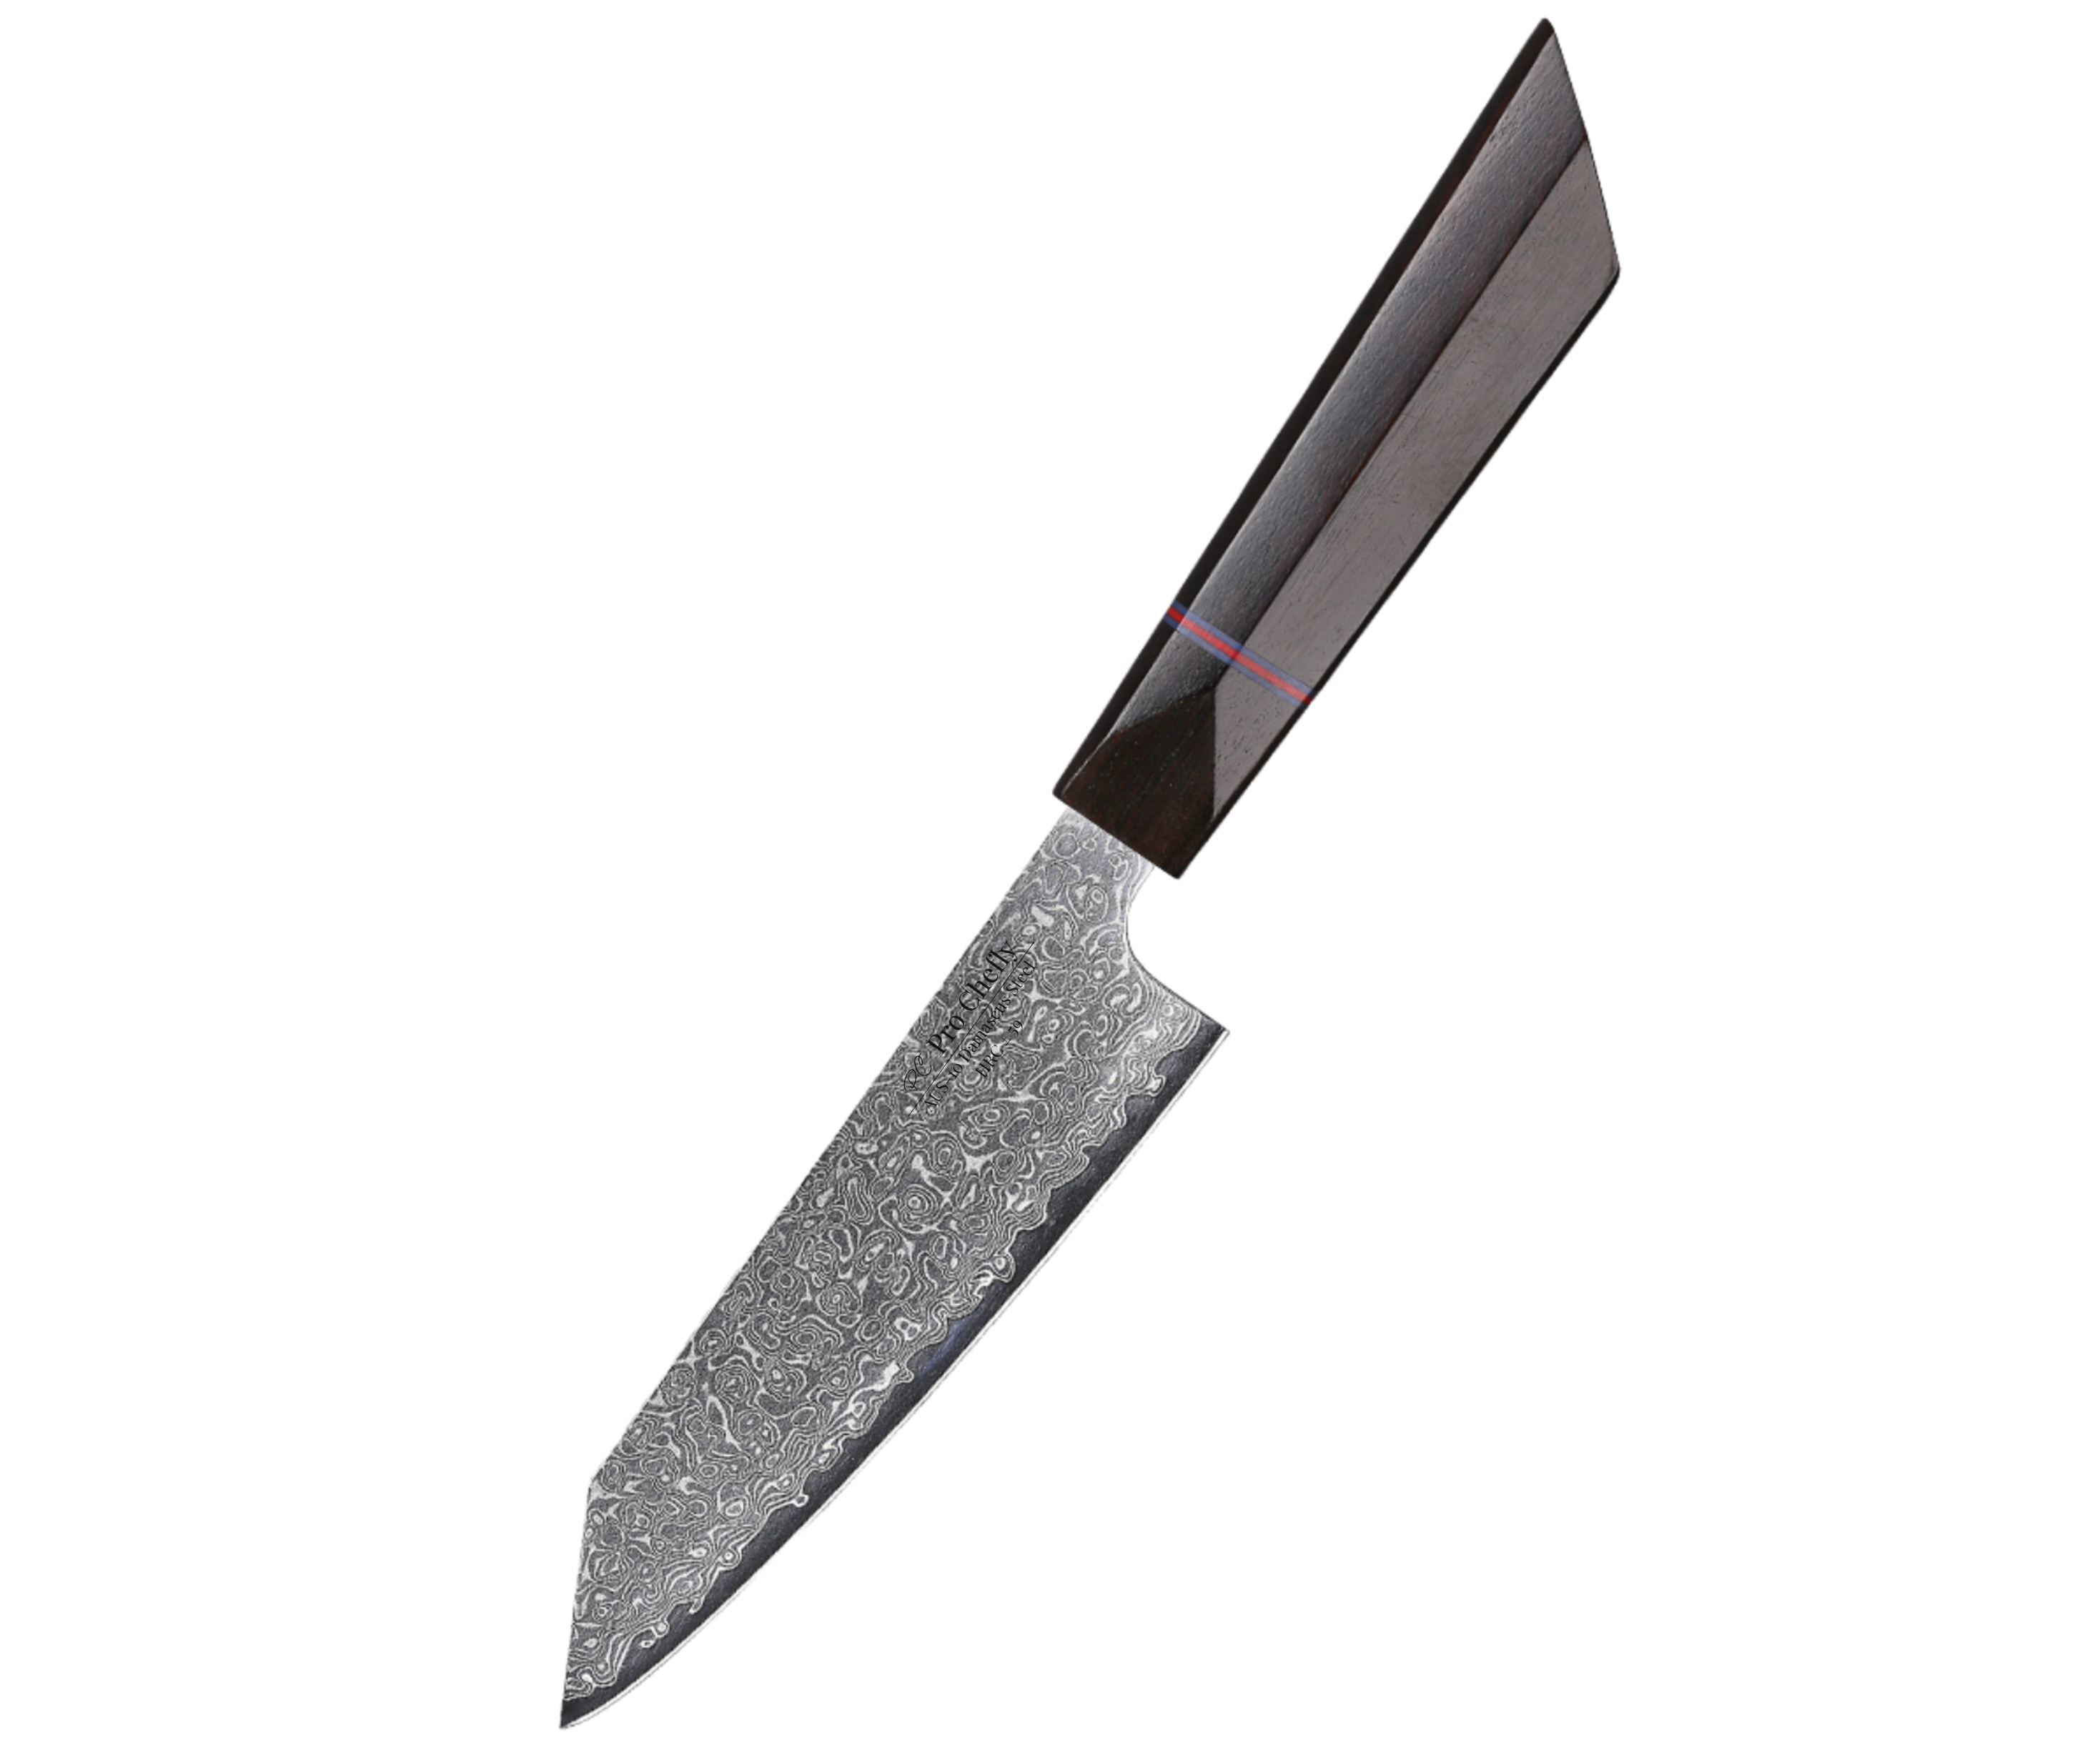
Turn the dough out and divide it into 8 equal pieces using your 8" VG-10 Damascus Chef Knife for clean, precise cuts.
Step 9, Shape into Balls
Roll each portion into a tight, smooth ball.
Step 10, Form the Bagels
Poke a hole through the center of each ball and gently stretch into a ring shape.
Step 11, Prepare the Boiling Water
Bring water, honey or malt syrup, and baking soda to a gentle boil.
Step 12, Boil the Bagels
Drop in 2 to 3 bagels at a time and boil for 30 to 45 seconds per side.
Step 13, Remove and Drain
Lift bagels out with a slotted spoon and place on a parchment-lined tray.
Step 14, Add Toppings
While still tacky, sprinkle on desired toppings so they adhere properly.
Step 15, Preheat the Oven
Set your oven to 425°F.
Step 16, Bake the Bagels
Bake for 18 to 22 minutes, rotating halfway through, until deep golden brown.
Step 17, Cool Before Slicing
Let the bagels rest for 15 to 20 minutes before slicing to set the interior.
Why Knife Choice Matters Even in Baking Prep
It might not be the first thing you think about when making bagels, but the way you handle your dough matters more than you’d expect. Clean cuts during portioning help preserve the internal structure, which directly affects the final texture. That’s where tools like the 8" VG-10 Damascus Bread Knife come into play when slicing finished bagels. Instead of crushing that crust you worked so hard to create, it glides through cleanly, maintaining that chewy interior and crisp exterior. As we’ve discussed in Why a Bread Knife Is Essential for Autumn Bakes, the right blade doesn’t just make things easier, it protects the integrity of your final product.
The Secret Behind That Classic Bagel Texture
What separates a real bagel from regular bread isn’t just the ingredients, it’s the process. The boil gelatinizes the outer layer of the dough, creating that dense, chewy crust that locks in moisture during baking. That’s why skipping the boil or rushing it leads to something closer to bread rolls than bagels. This step is non-negotiable if you’re chasing authenticity. If you’ve ever wondered why bakery bagels feel so different, this is the answer, technique over shortcuts every time.
Why This Process Creates True Bagel Texture
There’s a rhythm to making bagels that you start to feel after your first batch. Mixing, shaping, boiling, and baking all build on each other, and when one step is off, the final texture shows it. By the time you slice into that first cooled bagel, you’ll see the payoff immediately, a tight crumb, a chewy bite, and a crust that holds just enough structure. That’s not luck, that’s process working exactly the way it should. And once you understand that flow, you’re not just following a recipe anymore, you’re controlling the outcome.
Knife Collections
Shop the latest in Pro Chefly Damascus Knives


Chef's Notes
Stay up to date with the latest kitchen stories and recipes

- March 25, 2026
Dear Chefs, this is one of those dishes that feels like it belongs next to the ocean, even if you’re...

- March 23, 2026
Dear Chefs, this is the kind of spring dish that wakes up your entire kitchen the moment it hits the...

- March 19, 2026
Dear Chefs, some dinners don’t whisper, they walk into the kitchen with confidence and a little swagger. Surf and Turf...

- March 17, 2026
Dear Chefs, there’s something satisfying about a dish that feels wholesome, bright, and quietly comforting all at the same time....

- March 13, 2026
Dear Chefs, there is something about cooking whole fish that feels both elegant and surprisingly simple once you understand the...

- March 11, 2026
Dear Chefs, spring cooking always pulls me toward dishes that feel light, bright, and quietly luxurious without trying too hard....
- Choosing a selection results in a full page refresh.
- Opens in a new window.